The Wheelchair
Your wheelchair must fit properly. It should be neither too big nor too small. I will leave the details to the wheelchair sales team. This page contains some factors to consider: seat-back height, armrests, and tires. It also covers some navigation techniques: wheelies, opening a door, closing a door, transferring, and stairs. Don’t overlook the picture gallery, which shows some of these techniques.
Wheelchair Choices
Seat-back height: I don’t have any real control over my trunk. I sit upright though the force of gravity, and any upper-body control that I may appear to have stems from my shoulders and arms. It’s true that I can sort of sit upright without any support, but that is mostly just a balance game since I have no useful trunk control. As a result of that limitation, I need a seat-back height of 16 inches. Anything higher causes the seat back to hit my scapula and make sitting an uncomfortable experience. Anything lower leaves me unstable to the point of limiting my mobility.
I have two wheelchairs. I keep one in the car while the other is only used in the house. This eliminates some of the hassle of putting the chair in and out of the car twice during a trip. It also reduces wear and tear caused by having the wheelchair in the back seat. Another reason to have two chairs is that you will certainly have a wheelchair breakdown at some time. Having two chairs allows you to better survive that event.
Wheelchairs come with many pointy parts that are dangerous to car finishes. Before attempting your first transfer, carefully examine your wheelchair contact points with the car. Every car and wheelchair combination is different. You can usually address these problems with tape, rubber tubing or, in some cases, switching the parts. For example, when I first got my traveling chair, the footrest had bolts protruding from the side. These bolts would damage the car’s finish. The holes these bolts fit into were drilled completely though the footrest so it was a simple matter to switch them from the outside, where they would damage the paint, to the inside, where they cause no problem. Since the bolts thread into the threaded insert of the footrest, no nuts were required. Problem solved. Why the manufacturer didn’t think to do that is beyond my comprehension.
Armrests: I don’t use armrests.
Early on, when I first experimented with not using armrests, I felt a little naked and more than a little uncomfortable. I soon adjusted, and now I benefit from that decision. Here’s why. I never have to remove the armrest for transfers and deal with putting them somewhere. The wheelchair is lighter. Also I can fit under most tables, which gives me a more comfortable and useful position relative to the table. The absence of armrests also makes a better arm-to-hand rim posture and eliminates the possibility of jamming your hands between those parts of the wheelchair.
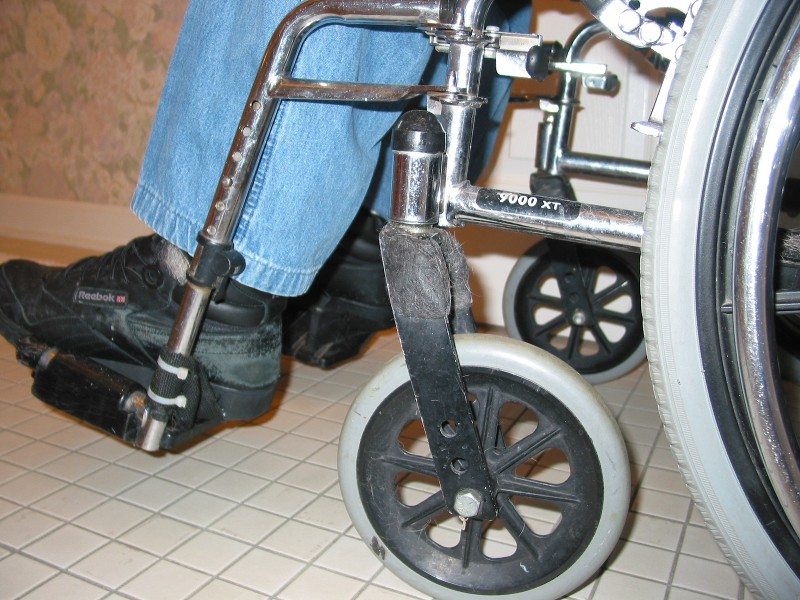
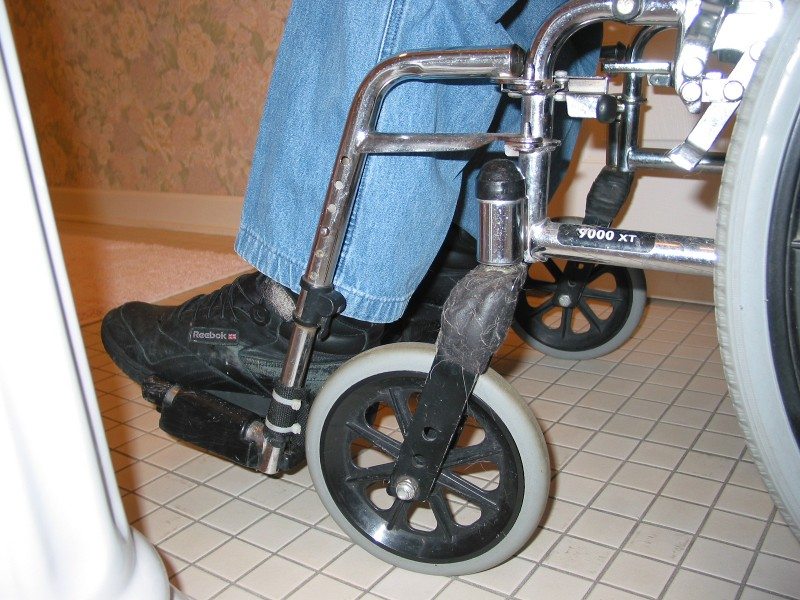
Tires: Don’t get pneumatic front caster tires. They don’t hold enough air so you will be constantly filling those little tires. Pneumatics rear tires are another matter. I prefer them because they offer a more cushioned ride. You will have to perform maintenance from time-to-time, but for me that isn’t an issue. These days (2008) there are a variety of non-pneumatic, pneumatic-like choices that are close to a pneumatic tire. The chair I use when I am away from home has these no-flat, non-pneumatic tires. This chair rides firmer than the pneumatic one, but the security of not having a flat tire outweighs the minor difference in ride.
I choose 8″ solid tires for the front casters. The trend I see these days is for little caster wheels. I don’t really understand that trend. I believe the larger casters are better for going over obstacles like small curbs, cracks in the street or even door thresholds. When presented with a small obstacle, even though it may be mostly imperceptible, I pop a little wheelie to facilitate smooth passage and to prevent the chair from coming to sudden stop.
Navigation Techniques
Wheelies: You no doubt have been taught the skill. Wheelies are a necessary part of using a wheelchair. They are especially useful if you are active. They are necessary to transition a small step or curb, up or down. In many cases, you can do this yourself without assistance from others. In my youth, I attacked a six to seven inch curb unaided. Today, at my advanced age, I don’t have the confidence and tend to avoid curbs that high. However, I am still comfortable scaling a four or five inch curb.
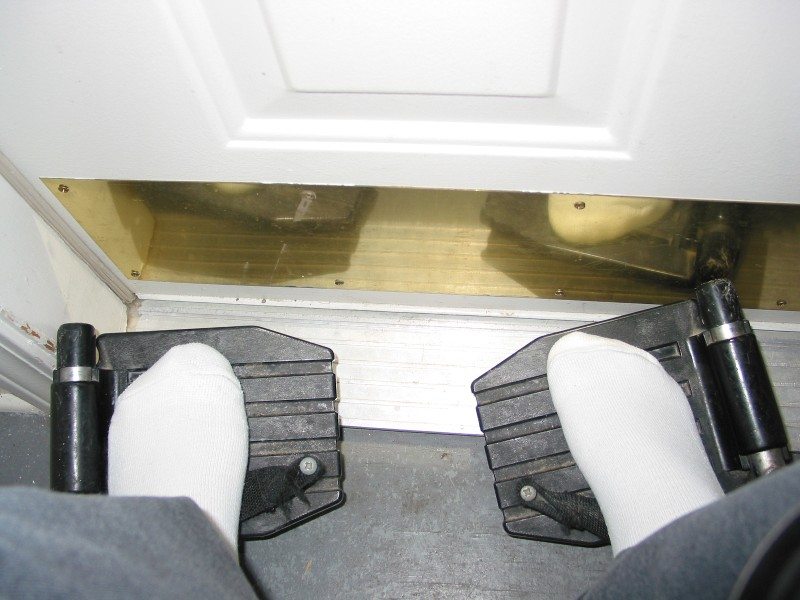
Opening a door How to open and close doors is a task that most people take for granted. However, both of these skills need to be developed and practiced when you are in a wheelchair. Opening doors while out and about in the real world is mostly performed by running into the door with your feet. You need to ensure that your shoes are rigid enough (toe to heel) to absorb the impact without deflection.
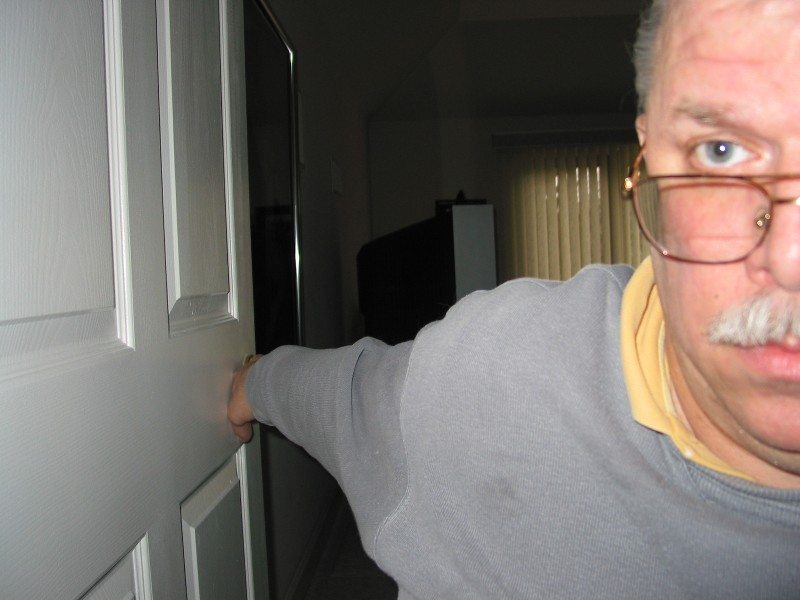
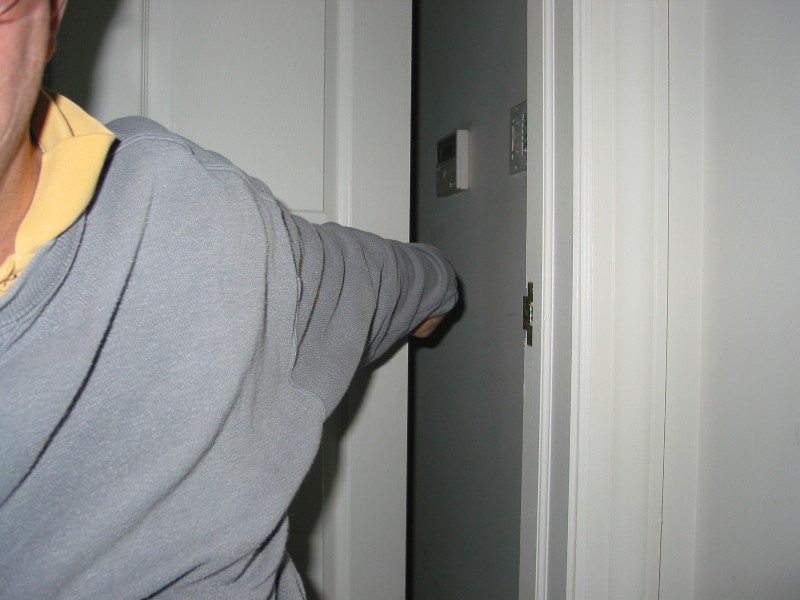
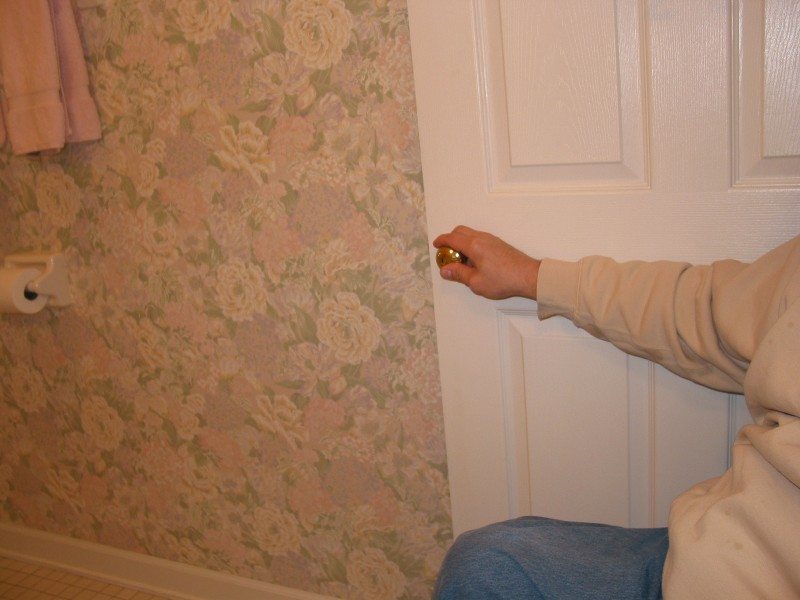
Closing a door: Closing interior doors is also a challenge. The picture gallery shows my technique. In short, as you roll about halfway though the door opening with the door hinges on the right (if your hinges are on the left, you will need to reverse this description), rotate your upper body to the right to grasp the door knob with your right hand. You must have several inches between the door and the inside tire. Give the door a gentle pull and quickly (and I mean very quickly) give the wheelchair a push. Then as you move though the doorway rotate your upper body to the left to grasp the closing door’s knob with your left hand to finish the task. The position of the wheelchair for this task must be beyond the door jamb. While this may sound a little complicated, in practice it becomes rather easy.
Sometimes it will be necessary to close a door and back the wheelchair out instead of the rolling though as the previous example attempted to explain. The most important step in this method is to first make sure that the front casters have swiveled to the position they will take when backing up (the casters reverse direction 180 degrees depending on the direction of travel). If you forgo this step, the momentary lag that occurs as the casters flip is enough to prevent you from moving enough. The door will bounce off the chair, stopping the attempt. After the casters are positioned by backing out a few inches, stop and grasp the door with your inside hand. Give the door a gentle pull and then immediately back the chair out from the opening and away from the closing door. The tug must be gentle, yet forceful enough to get the door moving with enough momentum to close to the point where you can reach the door knob so that you can grip it to finish the closing.
Another method that works equally well is to simply give the door a push toward the door stop. My door stops have generous rubber cushions on them so when the door hits the door stop, there is enough energy remaining that the rebounding door closes far enough that I can reach the knob to finish closing the door.
- Transferring: You must master and become completely comfortable with transferring. I don’t use transfer boards for any transfers. Think before you act. Remove the foot rests if you need to position the wheelchair better. NEVER attempt to transfer if you don’t think you can make the transfer completely or without some type of fallback position.
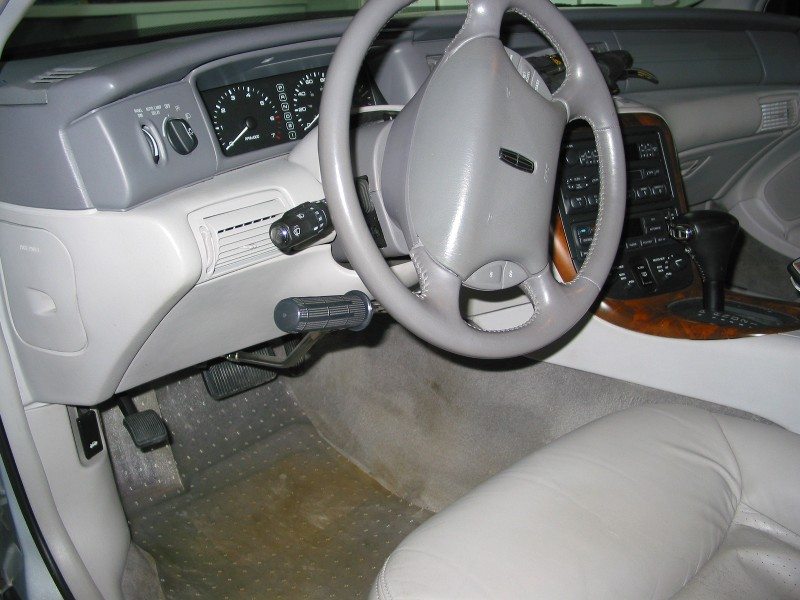
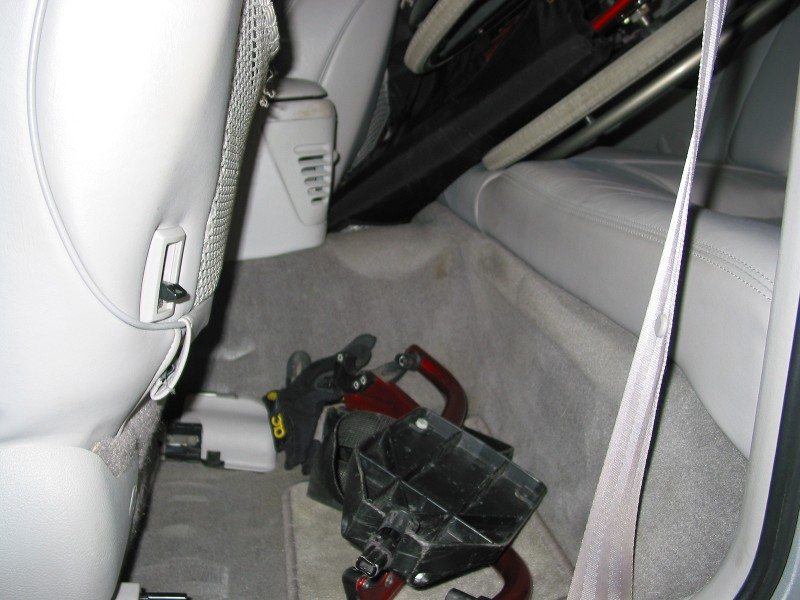
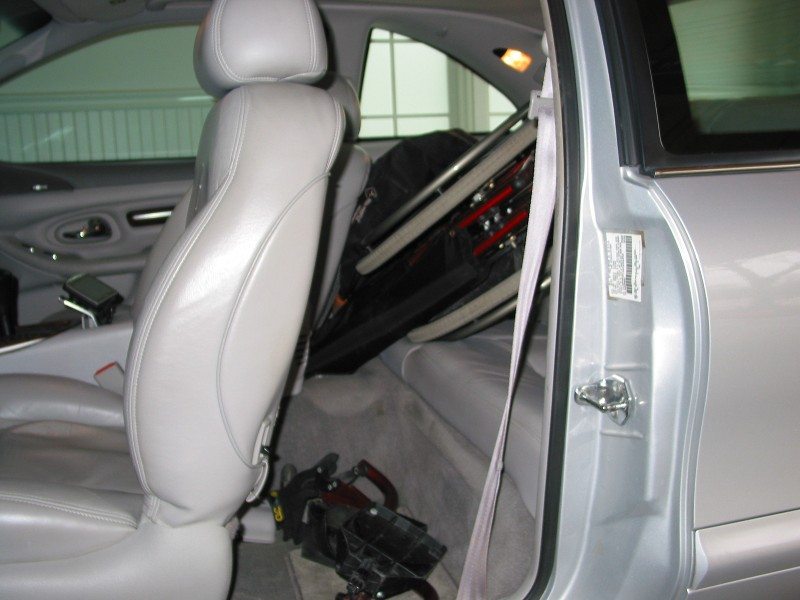
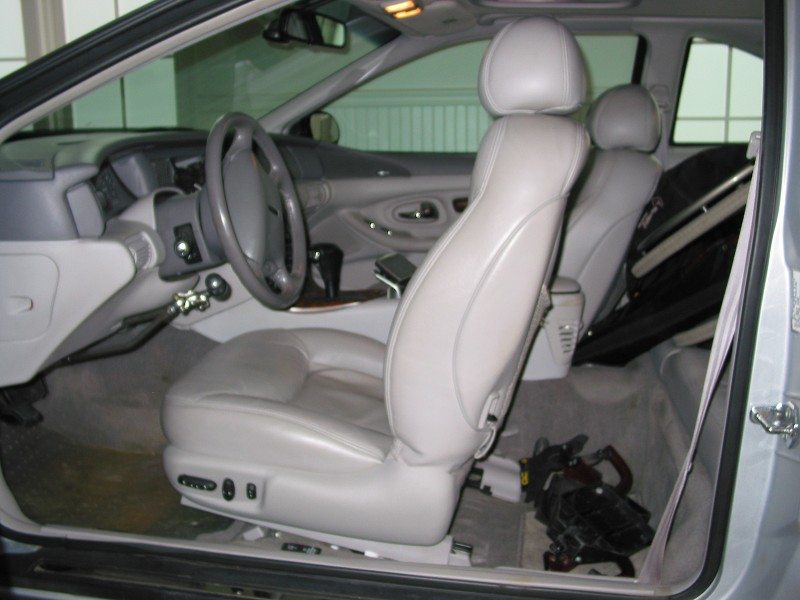
The picture gallery shows how I transfer from the wheelchair to the car, including how I store the footrests, collapse the chair and place it in the backseat. It also has a sequence of pictures that shows my normal transfer from bed to chair. For some unknown reason, I am better able to transfer from the chair into the bed and back if I locate the chair so the bed is to my right.
Transferring to a bathtub presents challenges. Thankfully the need for this transfer is diminishing as most hotels and motels now offer roll-in showers (these have there own set of issues). However, if the need does arise, it can be done. First fill the tub with water that is a comfortable temperature. I approach the tub straight on. That approach means my feet run into the tub. I take the footrests off and put my feet into the tub. Then I transfer to my left and sit on the edge of the tub while stabilizing myself. Many tubs now have generous areas, and so this is not a problem. I then manipulate my legs so that they extend properly and then make the final transfer into the tub. Early on I did this transfer frequently as I traveled frequently.
As I have aged this transfer has become more difficult so I added a safety device: an industrial suction cup with ratcheting cargo straps to secure the chair to the tub, making for a stable transfer point. It assures me that the chair remains safely in place during the transfer from the tub back to the chair. This device has a small vacuum pump built into the handle. Mine is eight inches in diameter. It is rated for 125 pound capacity. Also, in some bathrooms, it can be installed to provide a secure, temporary grab bar. Some smaller suction lifters might work for four inch tiles, but I do not have experience with them. McMaster-Carr is a source that has many choices.
Whenever I transfer, I always attempt to do it with closed fists. Sometimes if I have a concern about a transfer or need the additional height, I open my hands and let my fingers contact the surface. The reason I transfer with closed fists is that I believe it is less stressful on my wrists, hands and fingers. With a closed fist, my hand, wrist and arm are all in a line, and it doesn’t seem to create stress on the joints. If you practice the closed fist technique, it will soon become second nature, and you will feel comfortable with it.
It is also useful to learn how to move the chair laterally on a limited surface area. It is a difficult technique to describe. Essentially it is rocking the chair, moving each wheel forward and back in opposite rhythm. But the wheel that is the closet to the direction you need to move is moved a smaller amount than the opposed wheel. I am sure to some it looks like you are not accomplishing much, but with practice you will find it works rather well.
- Stairs: When people offer to help you navigate steps or stairs, you first need to educate them. EVERYONE thinks they just grab the chair and off they go. THEY WILL HURT YOU AND THEMSELVES! Even when you try to explain the technique, most won’t get it, and the ride will be less than comfortable.
Here is the key. First pop a wheelie. Then have the assistant stand behind you grasping the handles. The assistant has to maintain the angle of chair while pulling you up each step. I pull the wheel back in coordination with the person pulling, and we move up one step at a time. If you and your assistant achieve a coordinated rhythm, the strain and effort is greatly reduced. It’s critical to keep the wheels in contact with the stairs at all times with your full weight on them.
Most people try to pick up the chair to carry it and you up or down the stairs. This is neither good nor safe for you or them. If you fall as a result, you will not bounce. The risk of great damage is simply too high! Sadly some people, no matter how you explain the process, won’t follow your instructions. Avoid using them.
Chair and foot rests stowed, car seat in forwad position – I would be sitting on the car seat sideways.
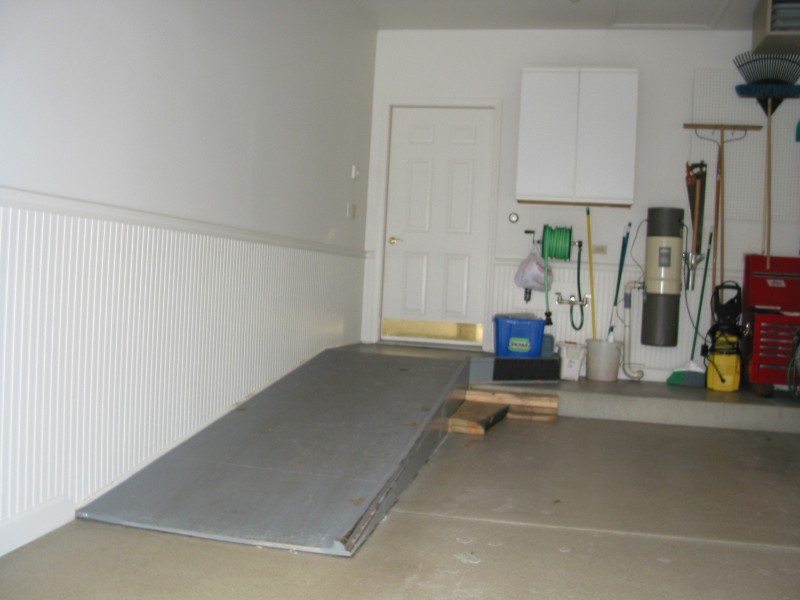
Look for door on side of garage, that may allow two cars inside. MUST HAVE flat area at ramp top large enouigh to rotate chair 360.
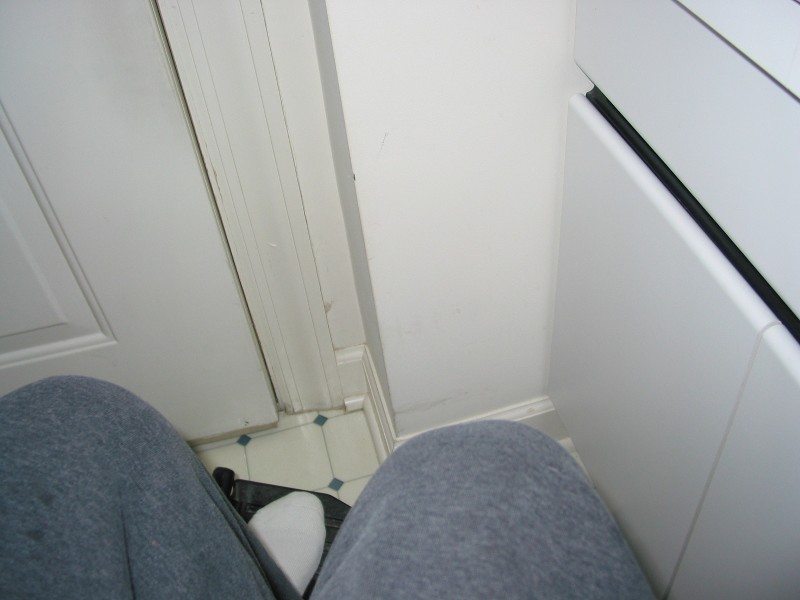
Door clears making it easy, otherwise it is quite difficult because you have to reach far forward and over the chair.
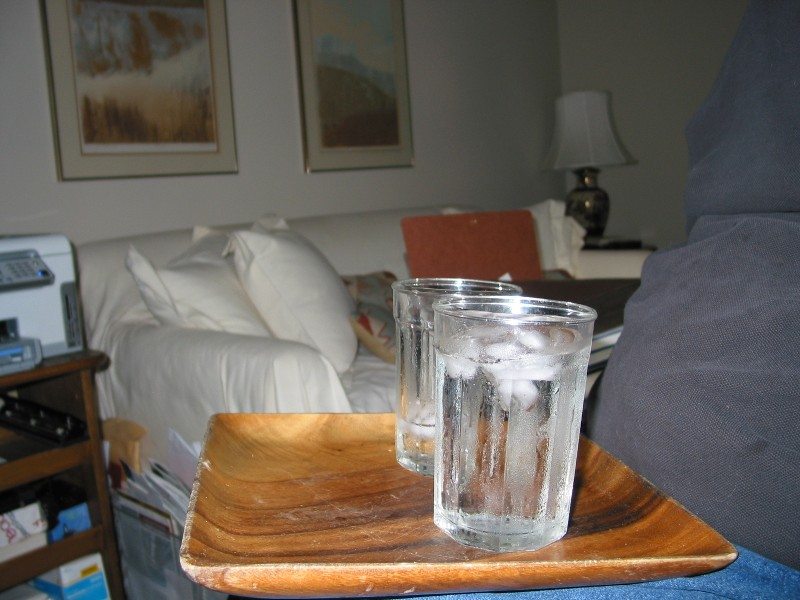
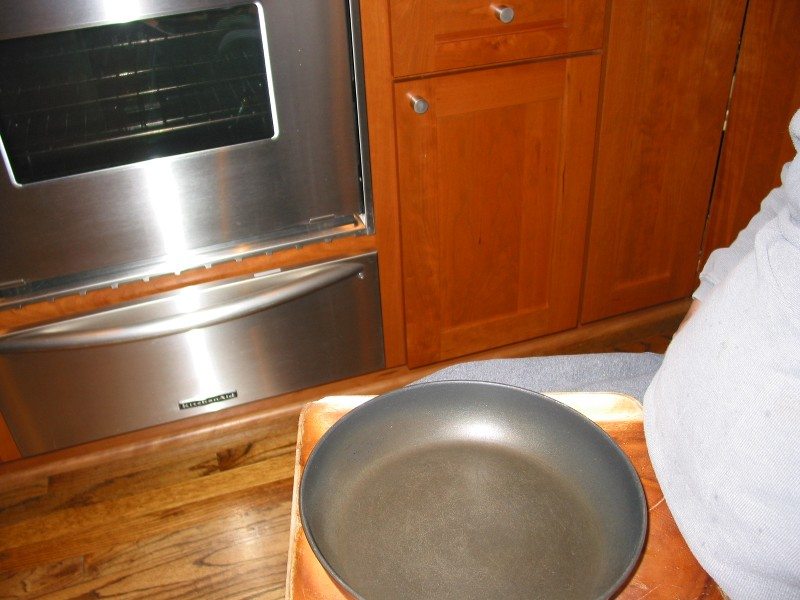
Footrests are good for moving objects, note my feet are inside the outline of footrest to protect them.
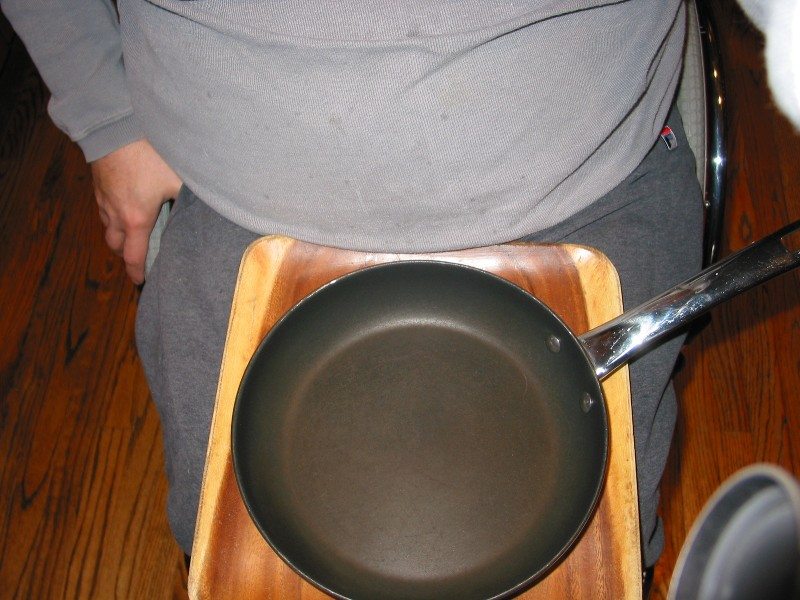
The handle rests on my knee, much like a trailer and I can manauver it in similar fashion. Brand is Rubbermaid, I assume other makes are available.
